Breakdown Sheet
Our final project at SCAD. It took a lot of hard work but thanks to everyone we are able to finally show off our project. I am incredibly proud of everyone who helped to make this vision come true.

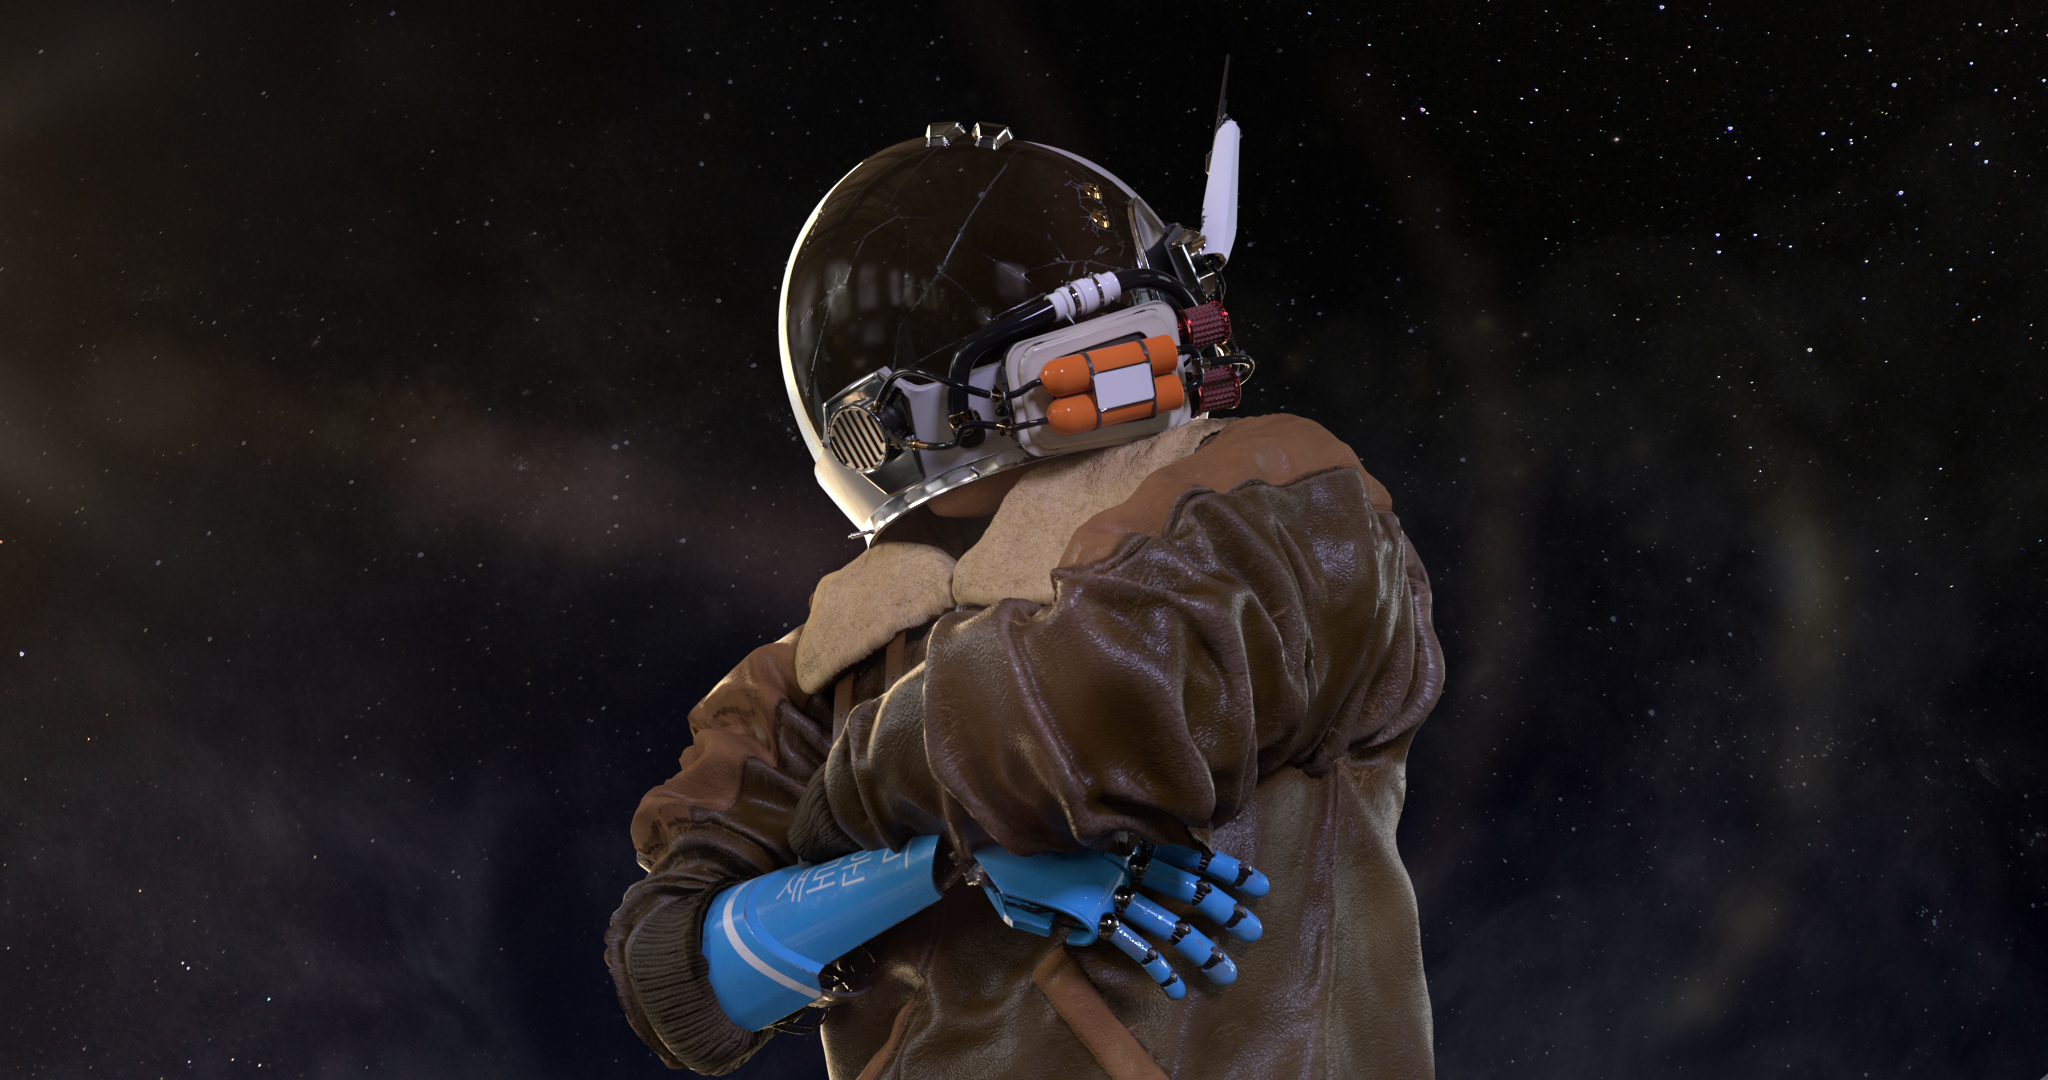
Starting from my own concept, I brought this character into the realm of 3D. I designed him based on a sketch I had from previous years, changing a few details to make him more interesting. Even though this is a high topology concept sculpt, I was able to create textures in substance.
This was a character I made from a concept a a friend and I came up with. I wanted to try some new pipeline software like Marvelous Designer to see what I could come up with.
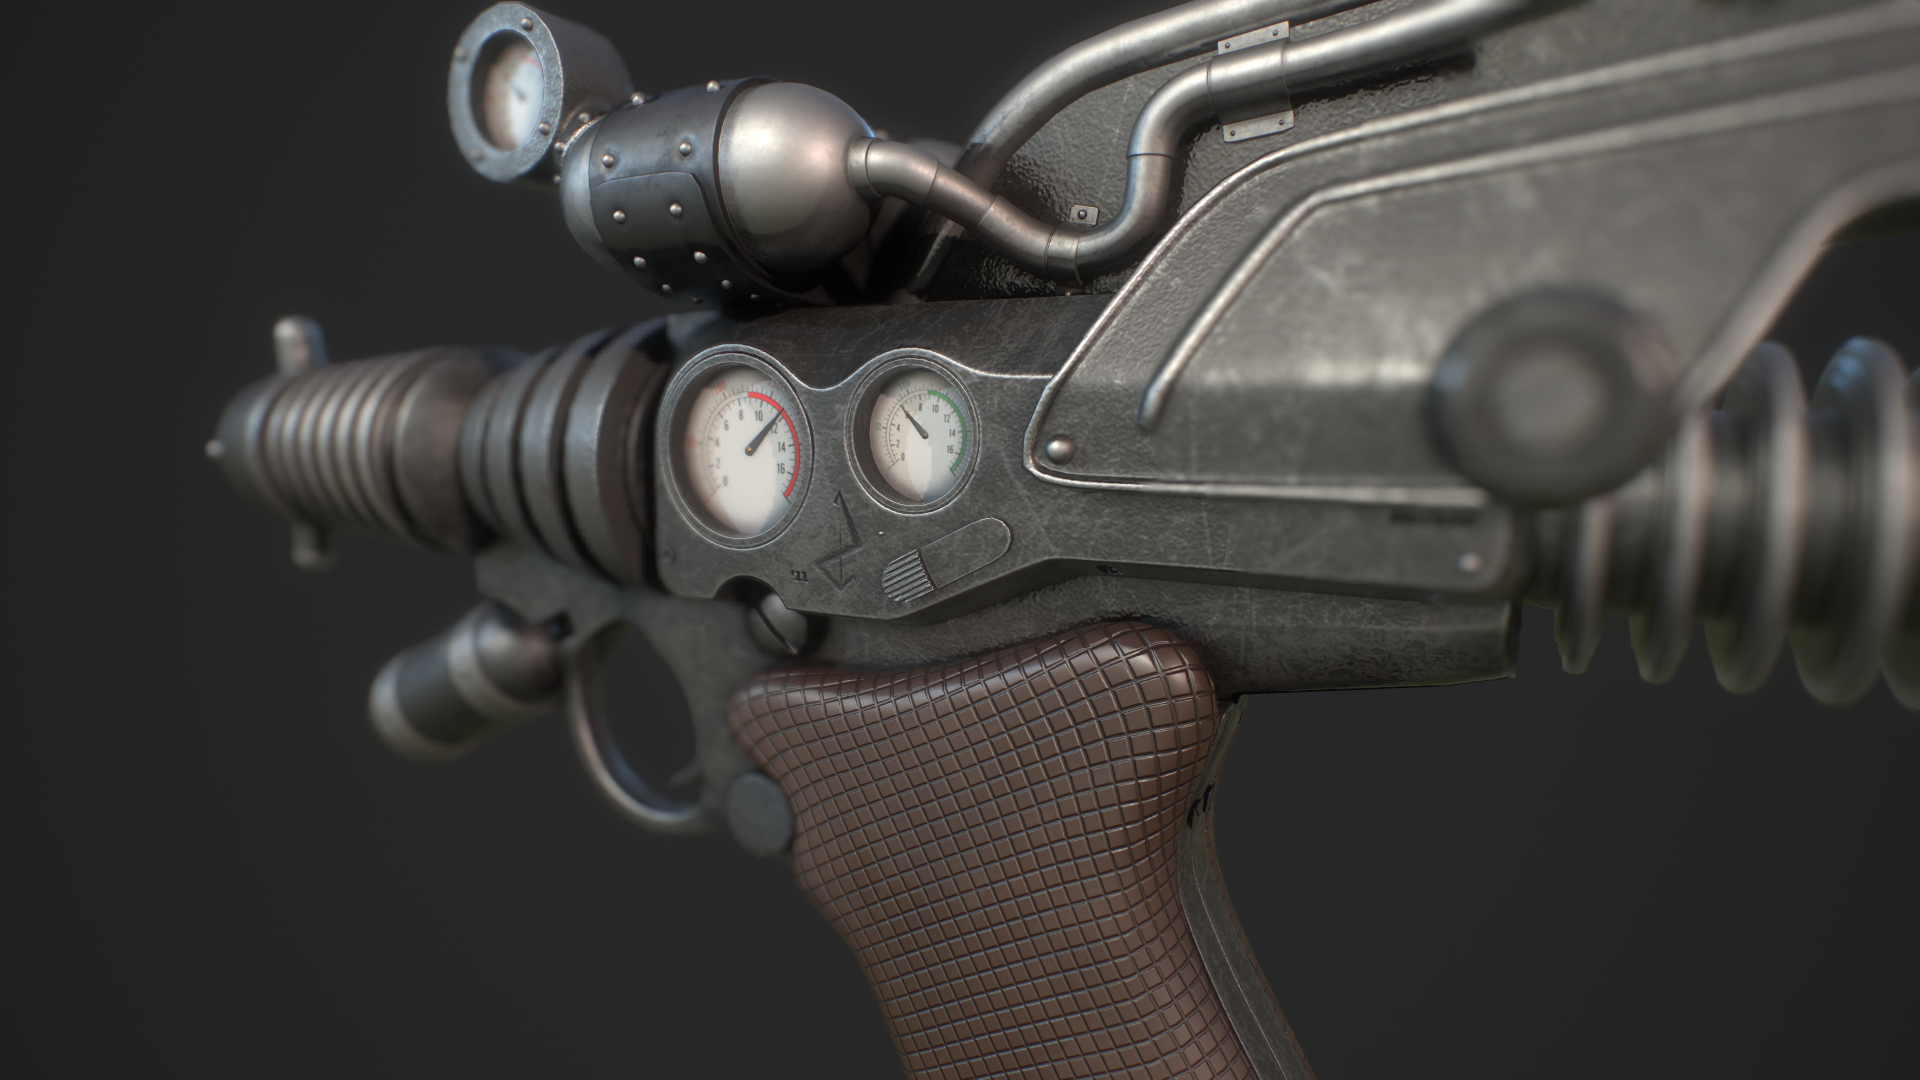
A raygun based on a model from Weta Workshop's Saboteur 66 from the Dr.Grordbort lineup.

I challenged myself to create this piece using as much Zbrush as possible. The mushroom was sculpted in Zbrush and all the maps were hand pained as well. Using a simple rig, I was able to move the mushroom and get the blink movement quickly. The rest were animated with a simple wire deformer. I knew the natural environment would require lots of detail, so I decided to photoscan it to get as much detail as I could as quick as possible.
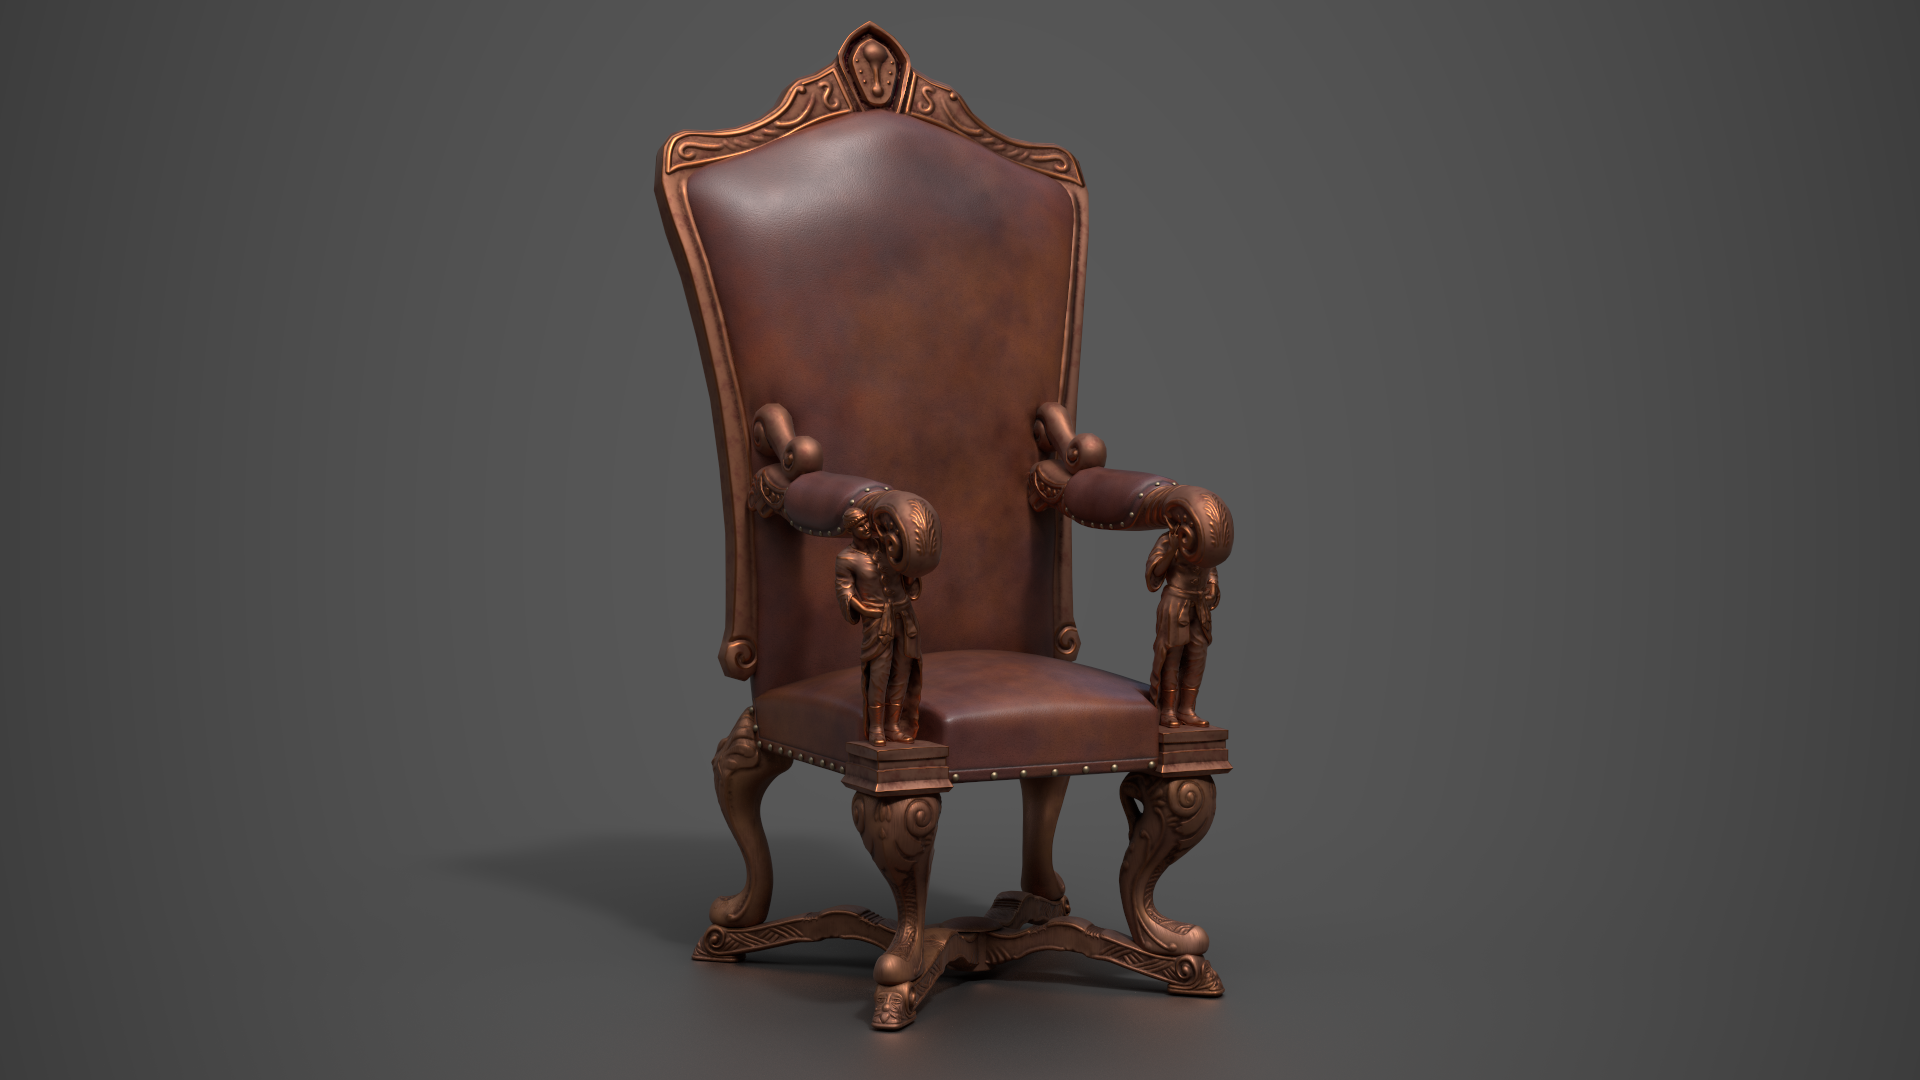
A chair sculpted in Zbrush and rendered in substance painter.

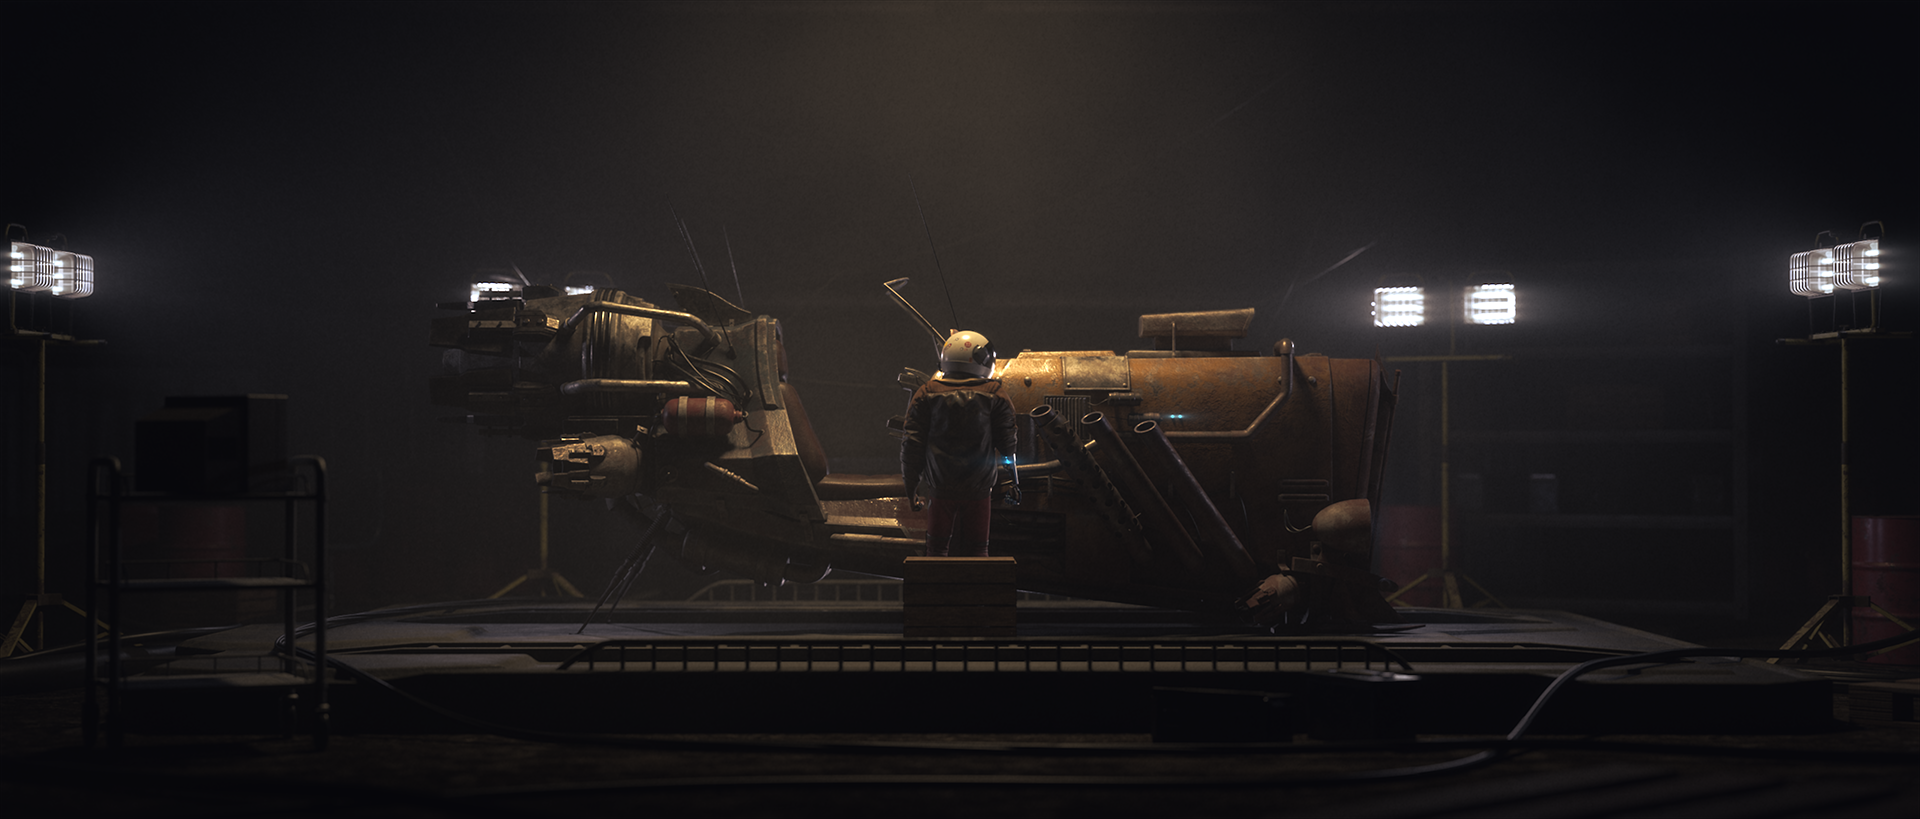
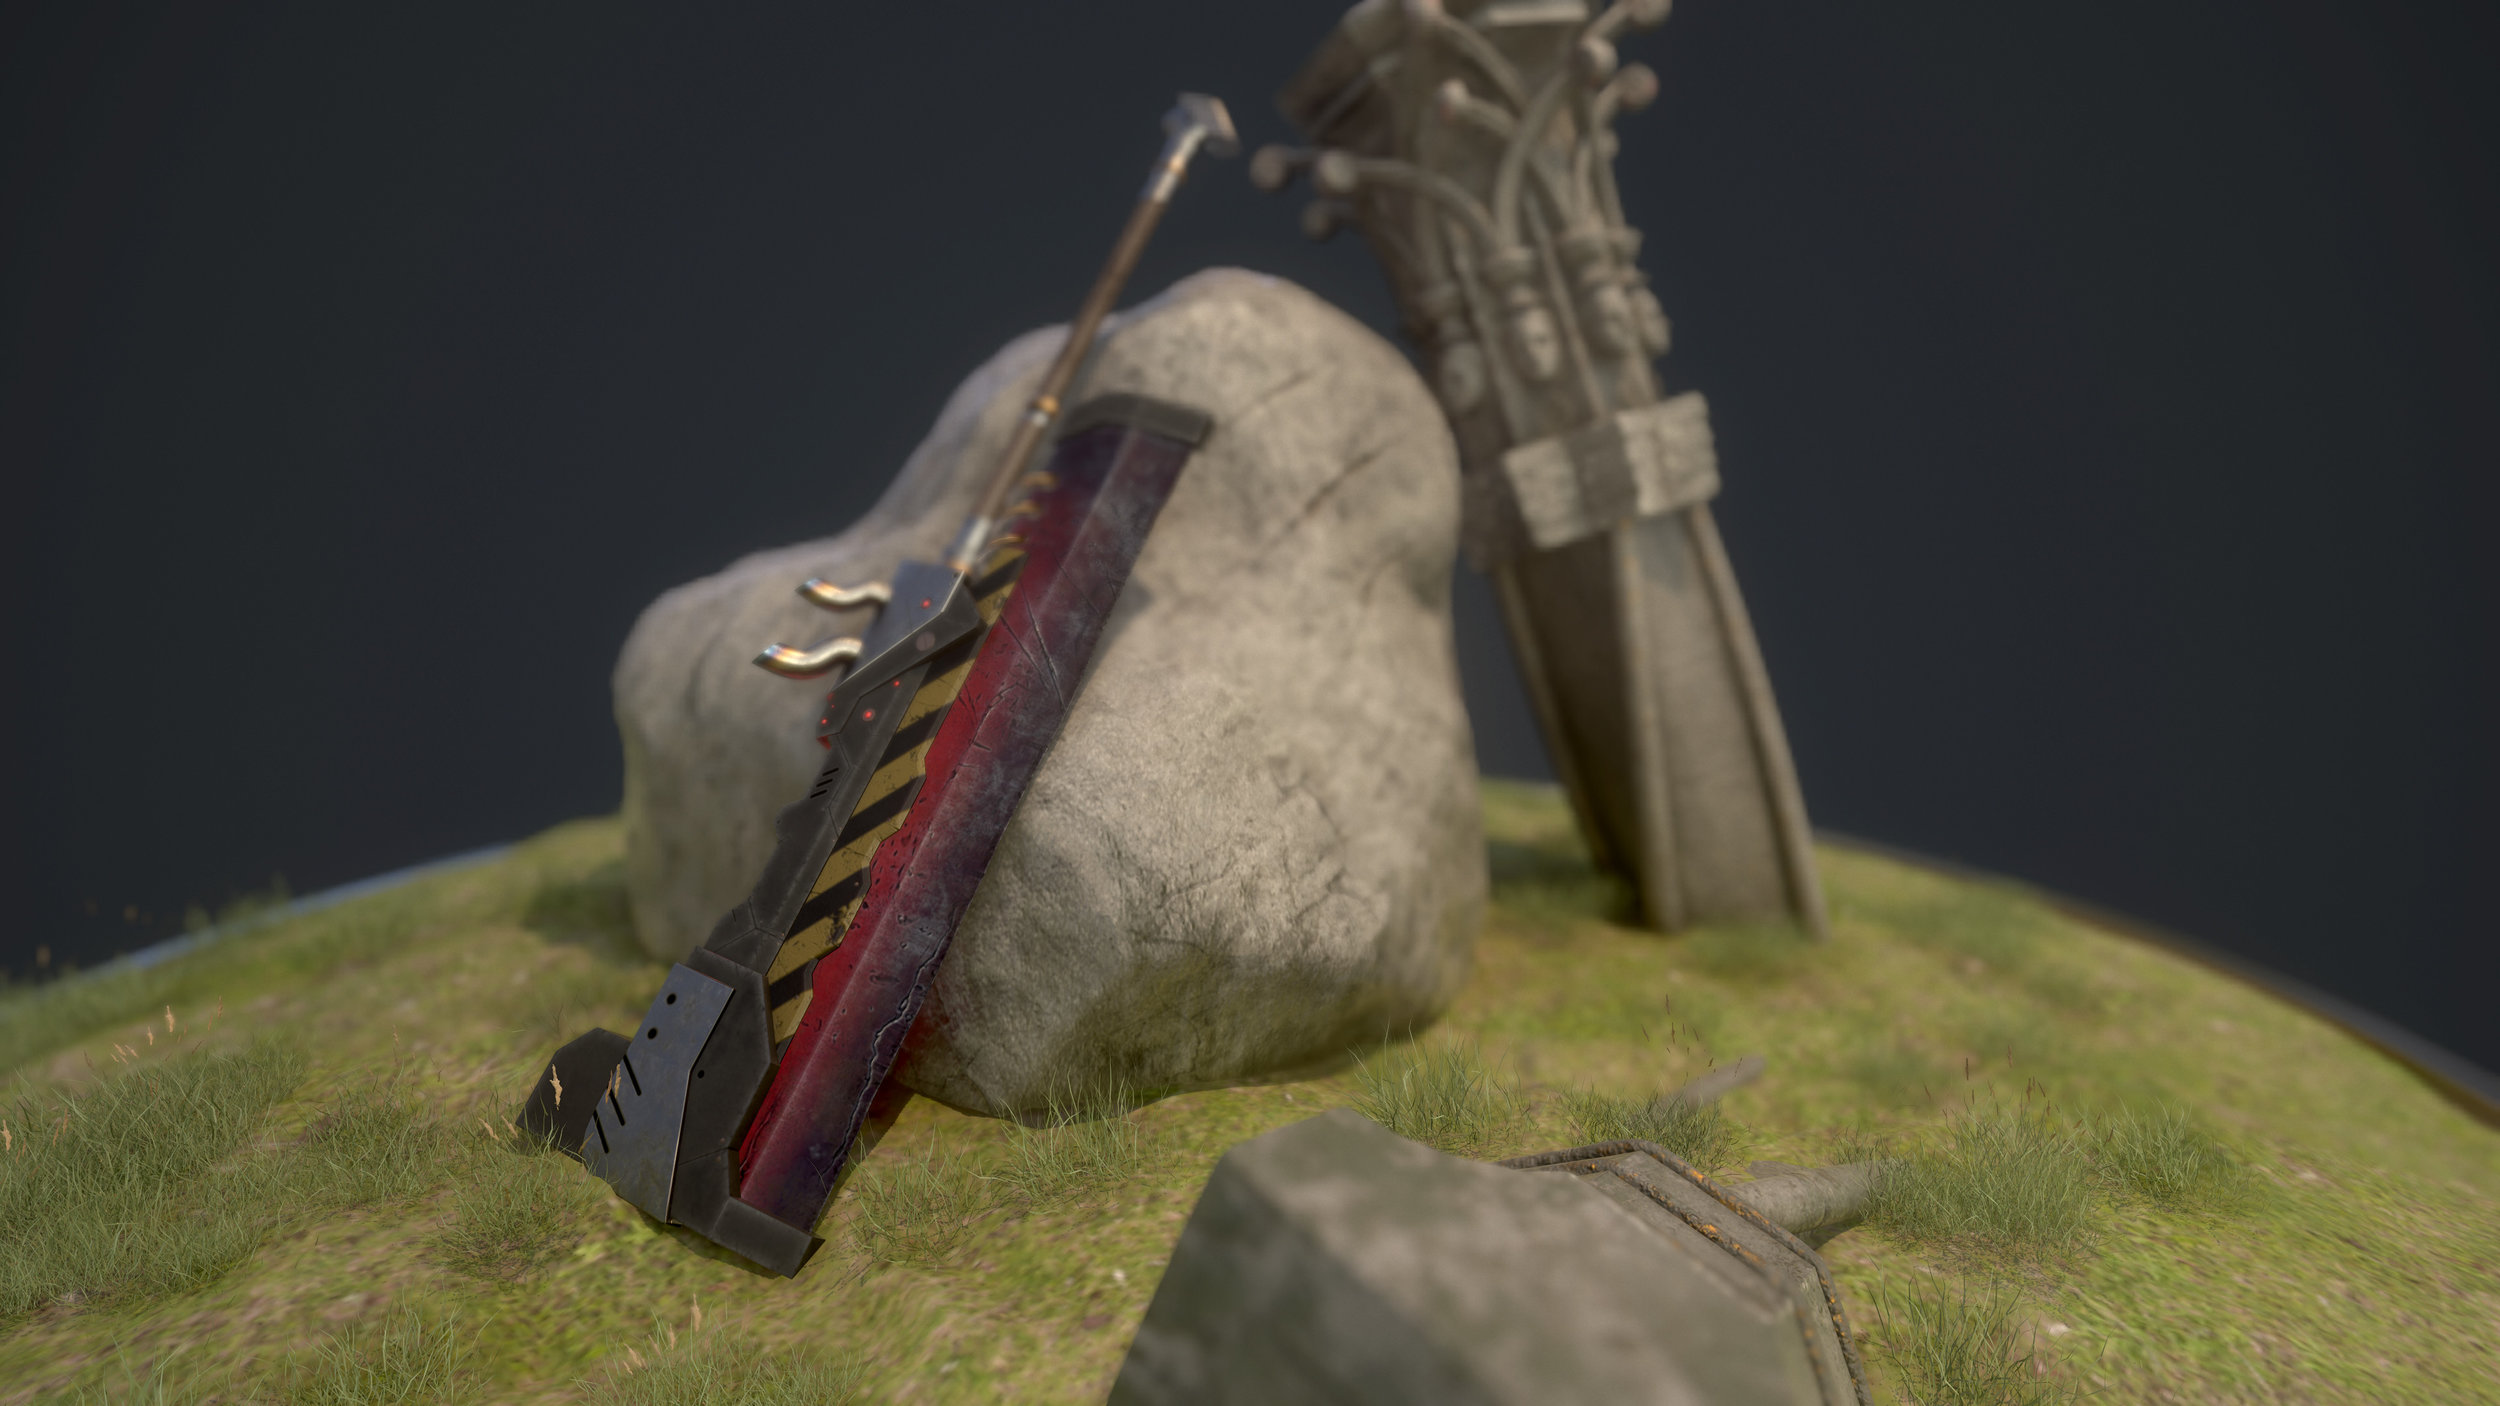
In one week, a friend and I wanted to create a full scene based around one character. We explored using pre-made assets to populate a believable outdoor scene. I was responsible for the creation of the entire knight as well as modeling his sword.
(http://www.loganpittman.com/)

Another collab with my friend from the knight project. We once again sought to create a scene with story telling elements. This time, we chose and interior scene as it provided completely new parameters to consider for everything from modeling to lighting. Assets were modeled and textured using as much procedural generation as possible to increase productivity.
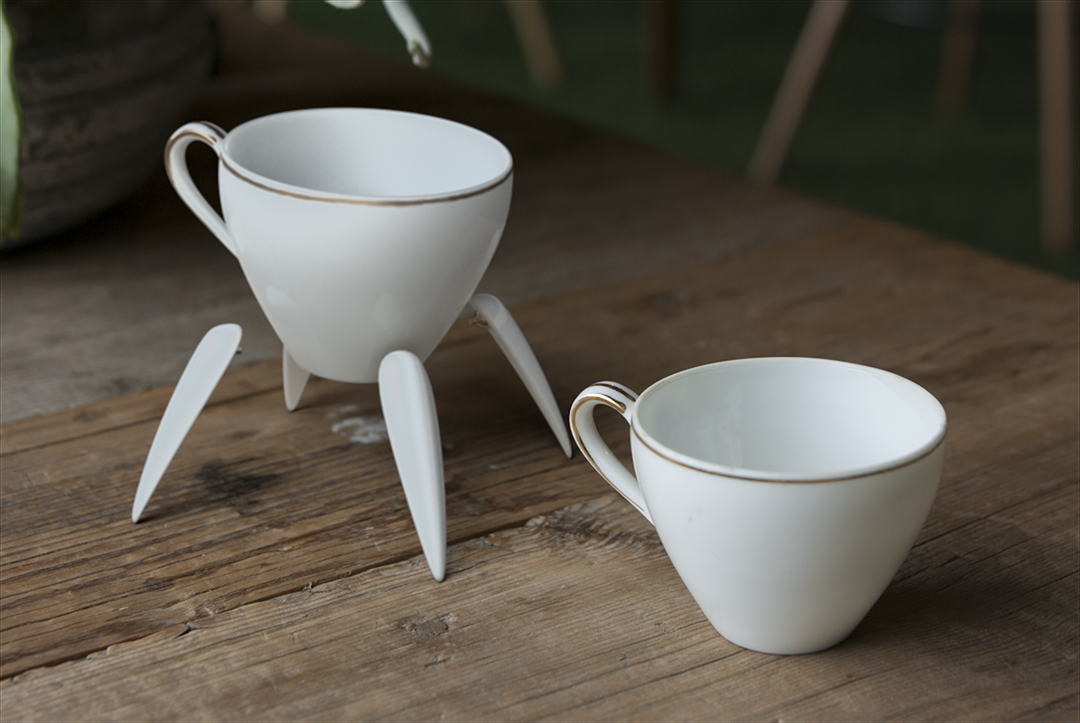
This project was to see how well I could match a digital asset to a real life counterpart. I loved the delicate form of the cup, and how the light played with the thin walls. I was able to create my own hdri image for the scene in order to best copy the light. I though the animation worked well for the model and it expressed the characteristics in a fun, playful way.
Using Houdini’s powerful procedural engine, I was able to not only completely model this procedurally, but texture it as well. It was very exciting to be able to use small bits of code to build a bigger piece. The sculpture is based off of a real life sculptor, Bob Potts and I believe I was able to re create the elegant beauty found in his piece.

This hero asset gave me the opportunity to explore asset creation for real time rendering. I created the hero asset with simple box modeling and used normal maps for the high detail patterns.

